Split a poster into multiple pages
Splitting a poster is one decision followed by four small ones. The decision is whether you are working backwards from a finished size or forwards from a number of sheets. Get that right and the rest — paper, margins, overlap, orientation — follows almost automatically. Free Image Splitter does the cutting in your browser, so the poster file never leaves your machine.
Decide whether you are starting from a finished size or a number of sheets, set that one value, and paper, margins, overlap and orientation follow from it.
On this page
Start from the size, not the page count
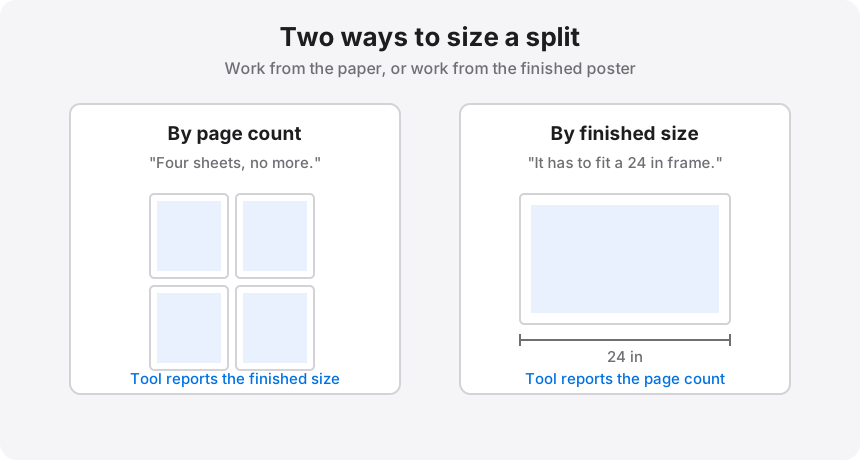
Most poster splitters ask how many pages you want. That is the wrong end of the problem for anything that has to fit something — a frame, a shop window, a gap on a wall. If the finished poster needs to be a particular size, set that size and let the tool work out the sheets.
The sizing driver at the top of the tool takes four inputs, and picking the right one saves you re-doing the whole job:
- Pages across / Pages down — use when you know how much paper you are willing to spend. "Four sheets, no more."
- Width (inches) / Height (inches) — use when the result has to fit something. Enter 24 for a 24 x 36 frame and let the page count fall where it lands.
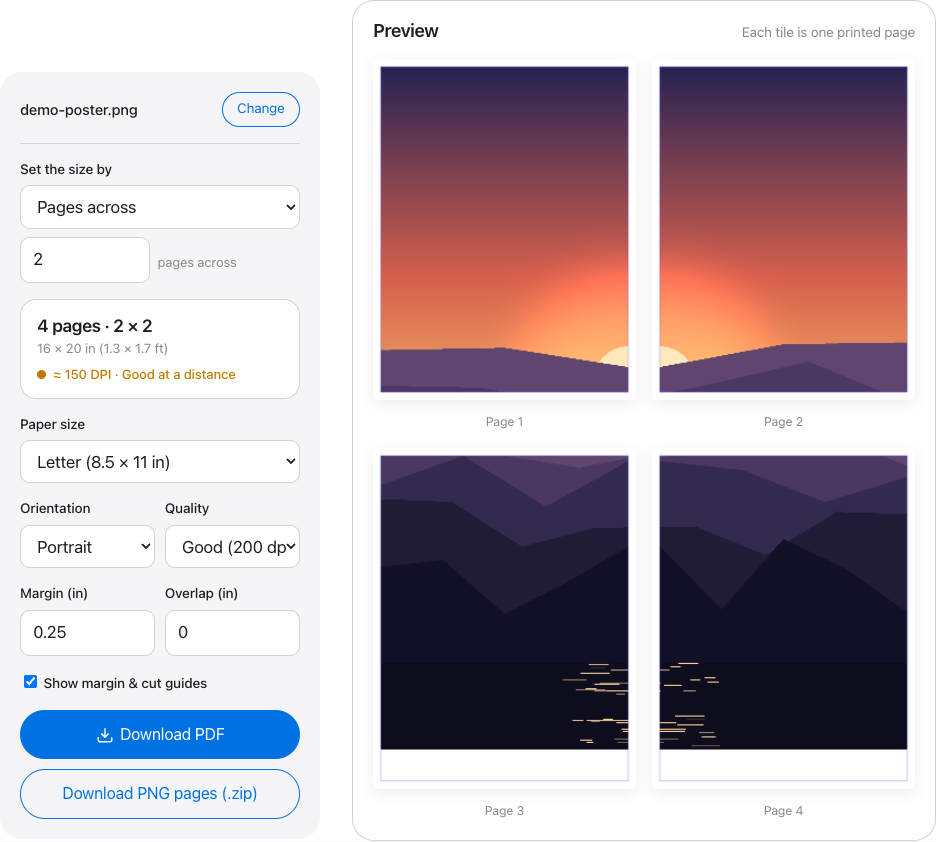
The readout under the controls updates live with the page count, the finished dimensions in inches and feet, and the effective DPI. Read all three before exporting. It costs nothing and it is the difference between a poster that fits and a stack of paper.
Overlap: the setting that decides how hard assembly is
Overlap repeats a strip of the image on each neighbouring tile so you can slide sheets over each other until the artwork matches, rather than butting two cut edges together and hoping. It is the single most useful control in the tool and the one most people leave at zero.
- 0 in — butt joints. Fine for two sheets. The finished poster comes out a few percent under target because printers cannot print to the paper edge.
- 0.25 in — the default I would use for four sheets. Forgiving enough to fix small drift, small enough not to waste much image area.
- 0.5 in — for six sheets or more, or any poster with straight lines running through the seams, where a millimetre of drift is visible.
The split, step by step
- Drop the poster — image or PDF — into the splitter. Multi-page PDFs work; pick the page you want from the selector.
- Choose paper size and orientation to match what is in your printer.
- Set margins to about 0.25 in. If your printer has a borderless mode you can go lower, but check it prints what you expect on one sheet first.
- Choose the sizing driver — page count or finished dimension — and enter the number.
- Set overlap, leave cut guides on, and pick a quality: Good (200 dpi) is right for almost everything; Best (300 dpi) for line art and text.
- Download a multi-page PDF or a ZIP of PNGs, and print every page at 100% / Actual size.
PDF or PNG?
Take the PDF unless you have a specific reason not to. It carries the page size inside the file, so print dialogs are far less likely to silently rescale it, and it prints as one job instead of a dozen. The PNG ZIP exists for the cases where you need the tiles as images — dropping them into a layout, sending individual pages to a print shop, or printing from a device whose PDF handling you do not trust.
The three mistakes that ruin poster splits
- Printing at "Fit to page". It scales each tile independently by a percent or two and the seams stop meeting. Always Actual size, always 100%.
- Mixing paper. Every tile should come off the same stock. Different sheets have different printable areas and the grid drifts.
- Trimming the outer edges early. Cut only where sheets meet. The outer margins keep the assembly rigid and square until the whole poster is together.
Check the resolution before you spend the paper
Splitting never adds detail — it cuts the original at full resolution and hands each piece to a sheet. If the source is small, the enlargement shows. The DPI readout is colour-coded for exactly this: green at 200 and up is sharp in the hand, amber from 100 to 199 reads well from a metre or more, red means find a bigger file or upscale it first.
Split your poster now
Load the poster, choose a page count or a finished size, and download the split. It runs entirely in your browser.