How to print AI-generated images at poster size
The render looks perfect on your monitor — and that's exactly the trap. A 4K display asks an image for about 8 megapixels, a bar every AI generator clears with room to spare. Paper asks for far more: a 24 × 36 in poster at a modest 150 DPI needs 3600 × 5400 pixels, and no generator's default export comes close. Print a raw Midjourney file at poster size and the artwork that dazzled on screen comes back soft, with smeared edges and mushy texture. The fix is a two-step pipeline — upscale first, then tile across regular pages — and both steps run free in your browser.
Default AI exports are too small for paper; upscale the file first (4× for a 24 × 36), check the DPI readout, and then split it into pages.
On this page
What the generators actually hand you
As of mid-2026 (defaults shift with every model release, so treat these as ballpark and check your own file):
- Midjourney: roughly 2048 px on the long edge for a standard render; its built-in upscale button can push toward 4096 px
- DALL·E: 1024 × 1024 px square, up to 1792 × 1024 px in the wide and tall formats
- Stable Diffusion XL: about 1024 × 1024 px native, before any hires-fix or upscale pass
Before doing anything else, open your downloaded file and read its actual pixel dimensions. Discord previews, right-click saves from a browser, and files re-shared through chat apps are frequently smaller than the original render.
What 2048 pixels buys you on paper
Pixels divided by print inches gives you DPI, the number that decides sharpness. A 2048 px export printed 10 inches wide lands right around 200 DPI — genuinely crisp. Stretch that same file across a 24-inch poster and it falls to 85 DPI. The splitter shows this live: its effective-DPI readout turns green at 200 and above, amber from 100 to 199, and red below 100. A raw 1024 px DALL·E square drops into red past about 10 inches wide. Poster-size prints made straight from a generator export are almost always red-zone prints.
Step one: upscale the export
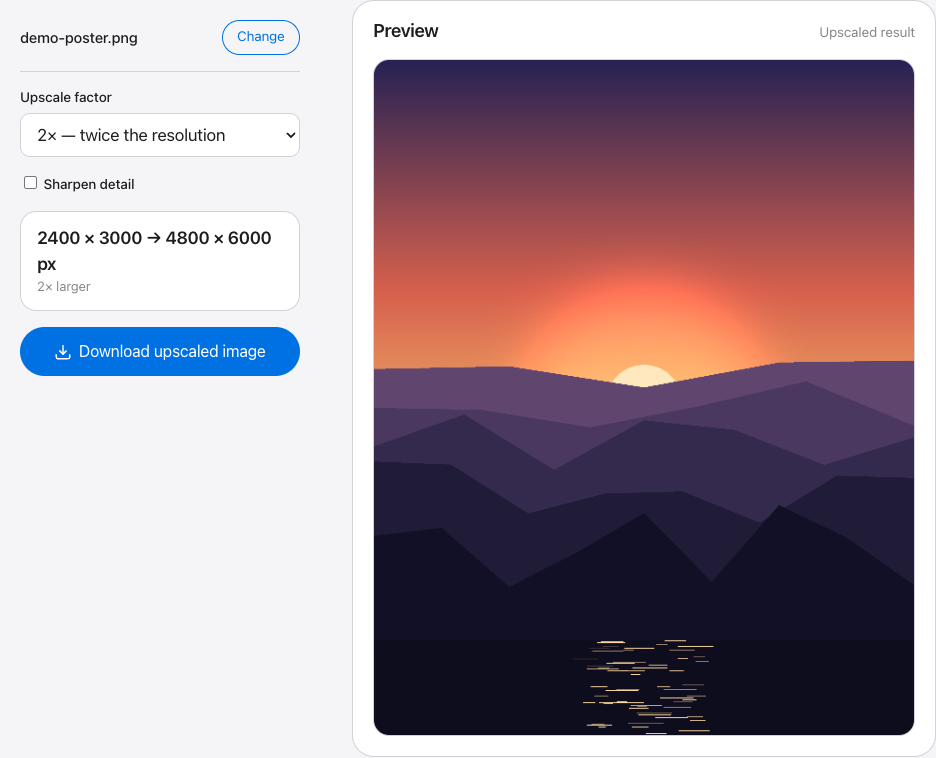
The homepage has a standalone upscaler built for this hand-off. Choose 2× or 4×, optionally enable the unsharp-mask sharpen, and it downloads a PNG. The resize runs stepwise — repeated high-quality passes rather than one big jump — which keeps gradients smooth, and output is capped near 40 megapixels. In practice that means a 2048 px square tops out at 2× (4096 × 4096, about 17 MP), while a smaller 1024 × 1792 DALL·E frame can take the full 4× to 4096 × 7168 px. Everything runs client-side; the artwork never uploads anywhere.
Step two: split the upscaled file into pages
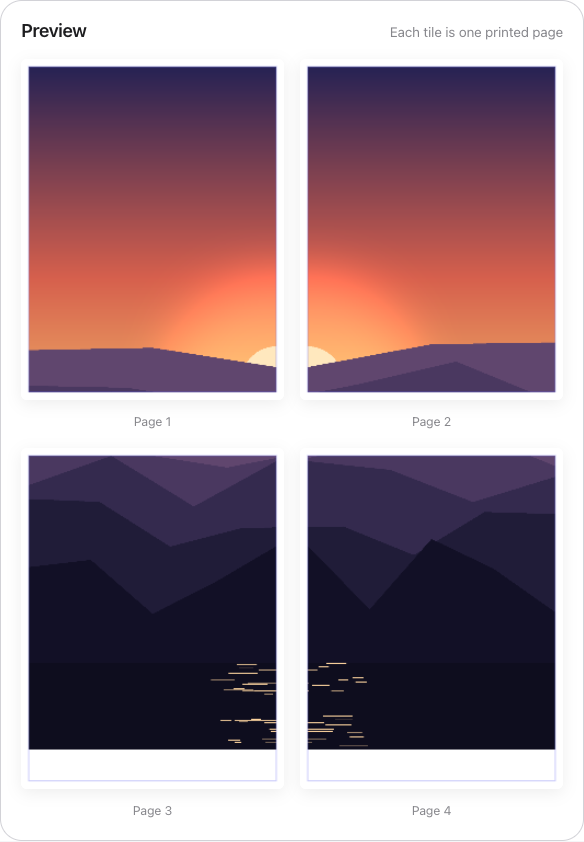
Feed the upscaled PNG back into the splitter. Pick a paper size (Letter and A4 are the usual choices; Tabloid or A3 mean fewer seams if your printer takes them), set the print width you want, and watch the readout. After a 2× upscale, a 24-inch poster that graded red will typically sit in amber or green — with one honest caveat: the readout grades whatever file you load, so that green is now measuring smoothly resampled pixels, not newly created detail. What that distinction means in practice is the next section. Add 0.25–0.5 in of overlap to make taping forgiving, then export a multi-page PDF or a ZIP of PNGs.
Smooth resampling vs. AI upscaling
The site's upscaler resamples. It interpolates new pixels from the ones that exist and invents nothing — which sounds like a limitation but is often what you want for AI art. Stylized and painterly images viewed at poster distance (a few feet) read as clean and smooth after a good resample, with zero risk of the upscaler rewriting your image. In my tests that covers most Midjourney-style work headed for a wall.
Dedicated AI upscalers — Real-ESRGAN, Topaz Gigapixel — work differently: a trained model hallucinates plausible detail that was never in the file. On photorealistic renders meant to be examined up close, especially faces, that invented texture can be the difference between "obviously printed from a small file" and convincing. The trade-off is drift — skin, eyes, and lettering sometimes change in ways you didn't ask for, so inspect the output at 100% zoom before printing. Whichever route you take, the result drops into the splitter the same way.
Get more pixels from the generator itself
- Request the largest output your plan supports. Resolution you generate beats resolution you fake later.
- Use the generator's own upscale before downloading. Midjourney's upscale button roughly doubles the long edge, and the model has context about the image that no external tool gets.
- Download PNG, not JPG. JPG compression artifacts hide at screen size, show at 24 inches, and get magnified by any upscale that follows.
Style is your safety margin
A painterly landscape at 120 DPI on a wall looks intentional; a photorealistic portrait at the same resolution looks broken. Brushy, graphic, and abstract styles forgive low DPI because the eye has no fine detail to check them against, while photorealism invites close inspection and fails it. If you're generating specifically to print big, steer this at the prompt stage — or at least know it before committing 12 sheets of photo paper to a face.
Two print settings that protect all this work
Print every tile at 100% / Actual size — any "fit to page" or "shrink to printable area" option rescales tiles by different amounts and the grid will never line up. And run a single test tile first, ideally the most saturated one: AI art leans on vivid blues and purples that inkjets reproduce duller than screens display them. One test sheet costs a few cents; twelve wrong ones cost the evening.
Turn the render into wall art
Run your export through the 2× or 4× upscaler, then split the result into printable pages — the whole pipeline stays in your browser.